This week, I completed modelling (4hrs) and texturing (7hrs) the furniture that will be used in the scene. It took longer than I expected because I had difficulty nailing down an art style while also working with new techniques in Substance Painter that I wasn't familiar with.
A big challenge was finding a style that I really liked and understanding how to achieve that. My experience is more in realistic modelling and texturing where it's easy to see where things don't look right. However, with stylized pieces, it's up to my own interpretation. I'm also working with a very base, low-resolution mesh because I want to avoid creating too much detail through normal or height maps. The simpler, the better, but, the simpler, the less there is to work with.
The grand solution in nailing down a flexible art style was through the use of ambient occlusion. By baking the same model over itself, I get an AO map, which already improves the look dramatically as it removes the flatness entirely. However, this wasn't enough, so by adding another AO layer to the texture but using different varieties of maps provided by Allegorithmic and tweaking their properties, I reached the result seen below.
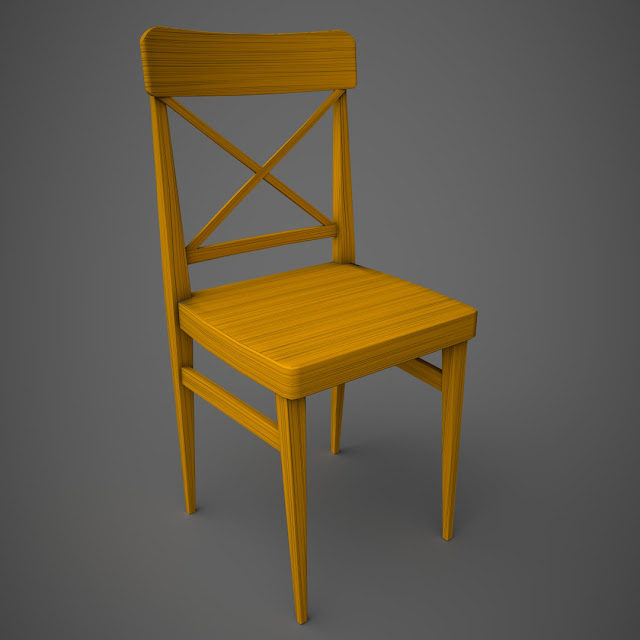 |
| Chair |
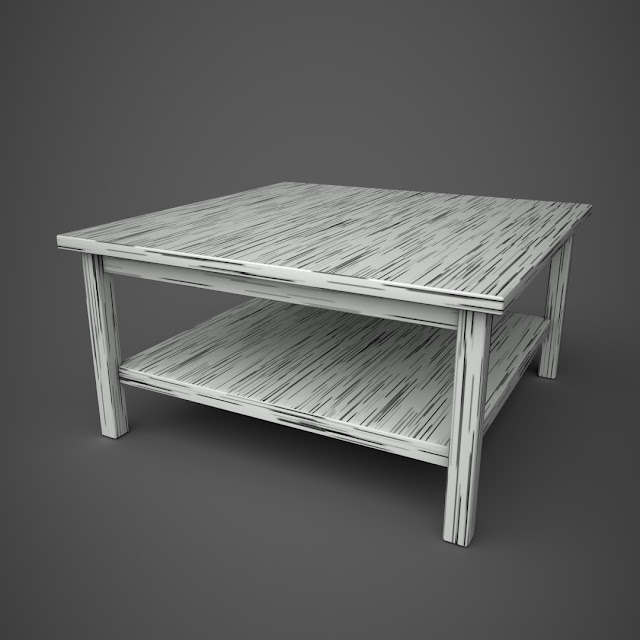 |
| Table |
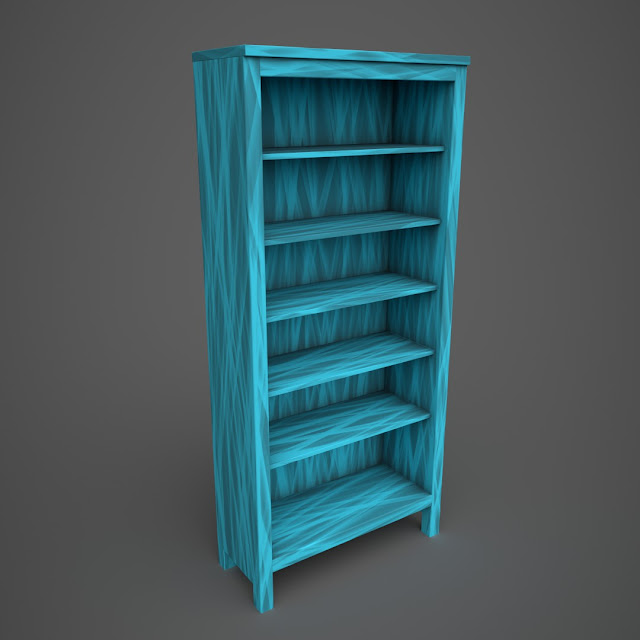 |
| Shelf |
The colours and patterns are prone to change as I build the environments in their entirety. Furthermore, I've learned a fair deal about how stylised assets behave and how to create them effectively this week. I learned that a part of the reason why I had a hard time getting the style is also that it needs an environment to fit in, which I did not have. It's challenging to build assets when I haven't finalised a mood board or stylised environment to compare with.


Comments
Post a Comment